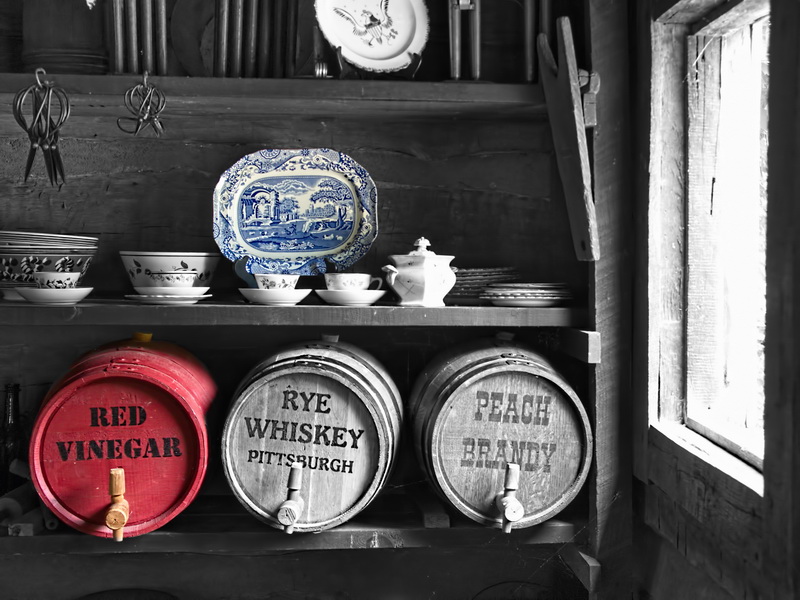
 This "How To" article uses ACDSee Pro 8 as the software reference but should work with any software that allows you to perform selective masking brushes and invert the selection made with those brushes. All in all, this method is pretty easy.
Select a photo suitable for this technique. I feel the most successful candidate is the sort of photo that already has a 'monotone' feel to it anyway, but also has a smaller area of color that can be enhanced to shock the viewer with color.
ACDSee Pro Instructions: Highlight the photo and select the "Develop Tab".
Adjust the exposure, contrast, and color balance for just the area that will remain in color. In this case, just the basket. Don't worry too much about the area that will become Black and White, you will have plenty of opportunities to adjust the B&W area later.
Now invoke the masking brush in your software.
ACDSee Pro Instructions: Right below the Sub tabs labeled, "Tune", "Detail", "Geometry", and "Repair", and just above the Histogram, are the three masking tools; the Develop (i.e. masking) Brush, the Linear Gradient mask, and the Radial mask. Select the Develop Brush. A special exposure window will appear just above the Histogram containing the tools the brush can control. These will be the tools you use for the base conversion.
Remember, with ACDSee Pro 8, the left mouse button adds to the masking area, and the right mouse button erases the masking area. The mouse wheel will change the brush size. It takes a little practice, but in time you can get quite skillful in making accurate masking selections.
 Using the masking brushes in the "Develop" tab, select the area to remain in color by depressing the left mouse button and dragging it over that area. Don't be afraid to zoom in or out on the photo while you work, and don't be afraid to change the masking brush size.
Note that I have been a little sloppy in my masking technique, there are edges that remain unmasked, and area where the masking area spills over into areas that should become B&W. This is where changing the zoom ratio and brush size can come in handy.
Once selected you invert the brush strokes that you did for the masking selection. That means it will reverse everything you selected so that what you did NOT select is NOW SELECTED. This gives you the ability to avoid having to use the masking brush on large tedious area that you would normally select.
 ACDSee Pro Instructions: Note a little check box next to the feathering slider control, that will invert the brush strokes you did for the masking selection.
Once the selection is inverted, I would advise that you zoom in on the now un-selected area (the area to retain color) and look for any stray brush strokes that might still be there. You won't see many, but sometimes there might be remnants of the feathering that the brush can do for you. Get rid of them.
ACDSee Pro Instructions: If any stray strokes exist, using the right mouse button can erase them.
Now all that remains is to desaturate the color in the photo.
ACDSee Pro Instructions: As long as you remain in the "Develop Brush" area, any change you make will affect only the area that is supposed to be B&W.
At this point, the basic B&W with Color conversion is done. You now have the ability to edit any way you see fit to get the final image that you desire.


No comments:
Post a Comment